Every spring, somewhere around the second warm week of April or May, the studio’s plants ask to be repotted. Roots circle the drainage holes. The soil dries out faster than it should. New leaves come in smaller than last year’s. This is the spring repot ritual — and it might be the single most useful seasonal habit a houseplant person can keep.
This is the long-form field guide we wrote for ourselves. When to do it, how to tell a plant is ready, what to keep on the bench, and how to actually do the work without making a mess of the kitchen.
Why spring (and what counts as spring)
Most houseplants enter active growth as daylight increases and temperatures rise. Roots push out, new leaves unfurl, the plant has the metabolic budget to rebuild itself. Disturbing those roots while the plant is already growing lets it recover quickly — usually within a week.
By “spring” we mean the window between late March and early June, depending on your climate. The signal isn’t a calendar date; it’s the plant putting out new growth.
Avoid repotting in mid-winter unless you have to (more on emergencies below). A plant repotted in January often sulks for two months because it has no metabolic momentum to recover with.
Signs your plant wants to be repotted
You don’t have to repot every plant every spring. Here’s what to look for:
- Roots circling the drainage holes. Pull the plant gently up, look at the bottom. If you see a tight spiral of roots, it’s ready.
- Soil that dries out within 24 hours. When roots take up more volume than soil, water rushes through and the plant gets thirsty fast.
- Stunted new growth. New leaves are noticeably smaller than last year’s.
- The plant tips over. Top-heavy growth in a pot that’s too small.
- Salt buildup on the soil surface. Old soil accumulates mineral salts that eventually hurt roots.
- It’s been more than two years. Soil itself breaks down over time, even if the plant looks okay.
If none of these apply, leave it alone. Repotting isn’t a yearly chore — it’s a response to what the plant is telling you.
Supplies we keep on the bench
You don’t need a workshop. You need a small kit. Here’s exactly what lives on the studio’s repotting bench:
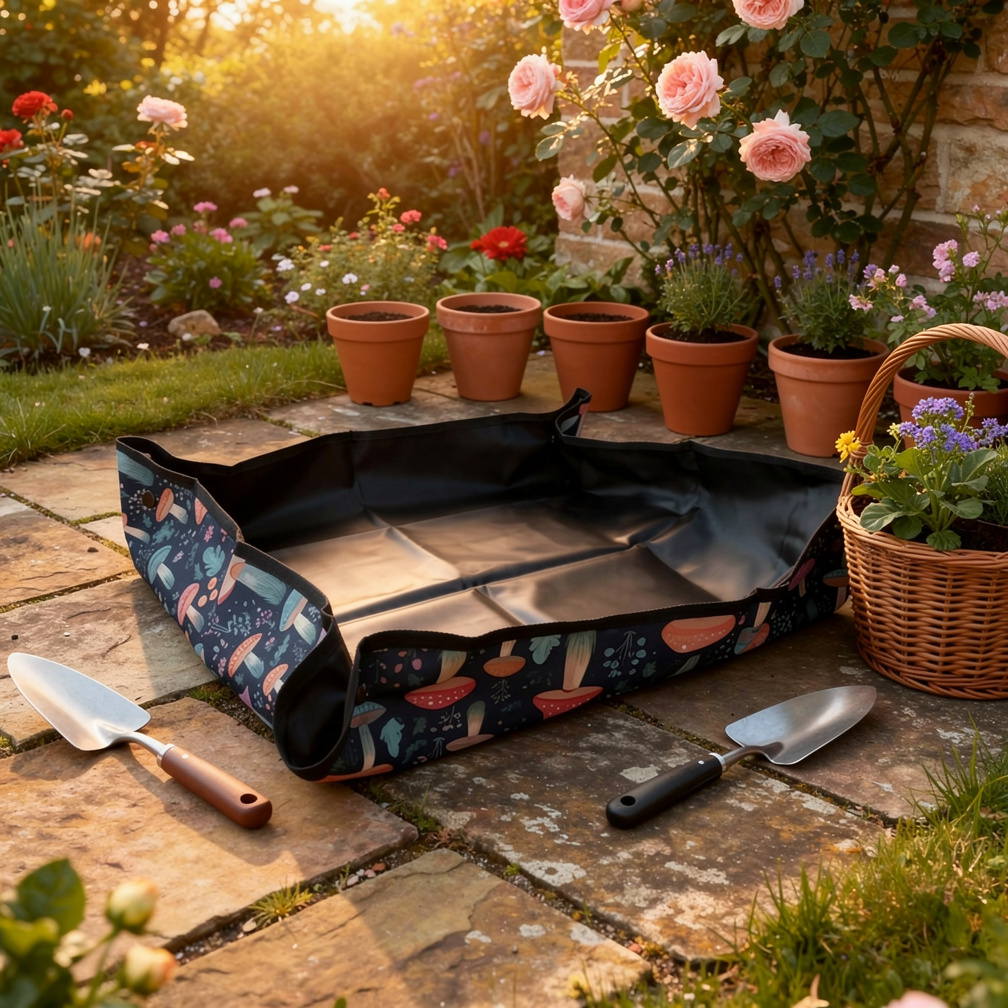
- A waterproof potting mat. Ours is the Botanical Potting Mat — a 28-inch square of waterproof canvas with snap-up corners. We are biased.
- Fresh potting mix. Generic indoor potting mix is fine. Cactus mix for succulents. Orchid bark for orchids and most aroids.
- A bag of perlite. Adds drainage. We mix about 20% perlite into the standard potting mix for everything.
- A trowel or large spoon. For moving soil. A serving spoon works fine.
- Pruning shears. Sharp, clean. For trimming dead or rotting roots.
- A chopstick or pencil. For settling soil around roots without compacting it.
- A spray bottle of water. For misting roots and cleaning leaves before they go back.
- A trash bag or compost bin nearby. For old soil and dead material.
- The new pot, ready. With a drainage hole. Slightly bigger than the old one (more on that below).
That’s it. We do not own specialized “repotting kits.” A bench, a mat, a trowel, a bag of soil.
How to actually repot a houseplant
The full ritual, step by step. Allow about 15 minutes per plant.
Step 1 — Water the plant the day before
A slightly-damp root ball comes out of the old pot more easily and is gentler on the roots than dry, brittle soil. Water the plant 24 hours before you plan to repot.
Step 2 — Choose the new pot
The rule: one or two inches wider in diameter than the old pot. Not larger. A pot that’s too big means soil that stays wet for too long, which means root rot.
The new pot must have a drainage hole. Decorative cache pots without drainage are fine over a nursery pot, but never as the primary container.
Step 3 — Lay out the mat and stage the materials
Mat down. New pot on the right (or left, whatever your dominant hand is). Bag of soil within reach. Trowel. Shears. Chopstick. Spray bottle. Trash bag at the edge.
This is the point where, if you’ve made it a real ritual, you put on something quiet and pour a coffee.
Step 4 — Remove the plant from the old pot
Tip the pot at a 45-degree angle. Cradle the base of the plant between your fingers. Squeeze the sides of the pot gently to loosen the root ball. For stubborn plastic pots, run a butter knife around the edge.
The plant should slide out into your hand. If it doesn’t, don’t yank. Squeeze again, tap the bottom, and try again.
Step 5 — Inspect and loosen the roots
Look at the root ball. Healthy roots are firm, pale tan or white. Black, mushy, or foul-smelling roots are rotting — trim them off with the shears.
If the roots are wound tight in a circle (“root-bound”), gently break apart the bottom and the sides with your fingers. This sounds violent but it isn’t — the plant will recover. If roots don’t get broken up, they’ll continue to grow in a circle in the new pot and choke themselves.
Step 6 — Add fresh soil to the new pot
A two-inch layer of fresh potting mix in the bottom of the new pot. Center the plant on top. The top of the root ball should sit about an inch below the rim of the pot.
Step 7 — Fill in the sides
Use your trowel (or spoon) to scoop fresh soil into the gap between the root ball and the pot wall. Use the chopstick to gently work soil down into the gaps without packing it. You want firm but not compacted.
Step 8 — Water thoroughly
Water until you see it draining out the bottom. This settles the soil and signals to the plant: new home, all is well.
Step 9 — Don’t fertilize for 4–6 weeks
Fresh potting mix has enough nutrients. The plant is rebuilding root tips and doesn’t need extra food yet.
Step 10 — Snap up the mat, pour the excess back
If you’ve used a mat with snap-up corners, this is the satisfying part. Snap, pour the loose soil back into the bag, wipe the mat clean.
If you’ve used newspaper, you fold it carefully and don’t make eye contact with the carpet underneath.
Aftercare: what to expect
For the first week or two, your repotted plant might look slightly off. A leaf or two may yellow. Growth slows. This is normal — the plant is rebuilding root tips. Keep it out of direct sun for a few days, water on its usual schedule, and don’t fuss.
By week four, you should see new growth. By week six, the plant will be visibly healthier than it was before the repot.
A note on the ritual
We frame this as a ritual on purpose. Plant care is one of the few hands-on, slow, non-screen things many of us do in a week. Building a small set of tools and a small set of habits around it turns it from a chore into something closer to meditation.
The supplies don’t need to be expensive. They do need to be ones you don’t dread looking at. That’s the whole argument behind the studio: tools you’d be happy to leave out.
Ready to upgrade the bench? The Botanical Potting Mat is hand-illustrated, waterproof, and designed to be the foundation of the spring repot ritual. $25. Free shipping on $50+.